
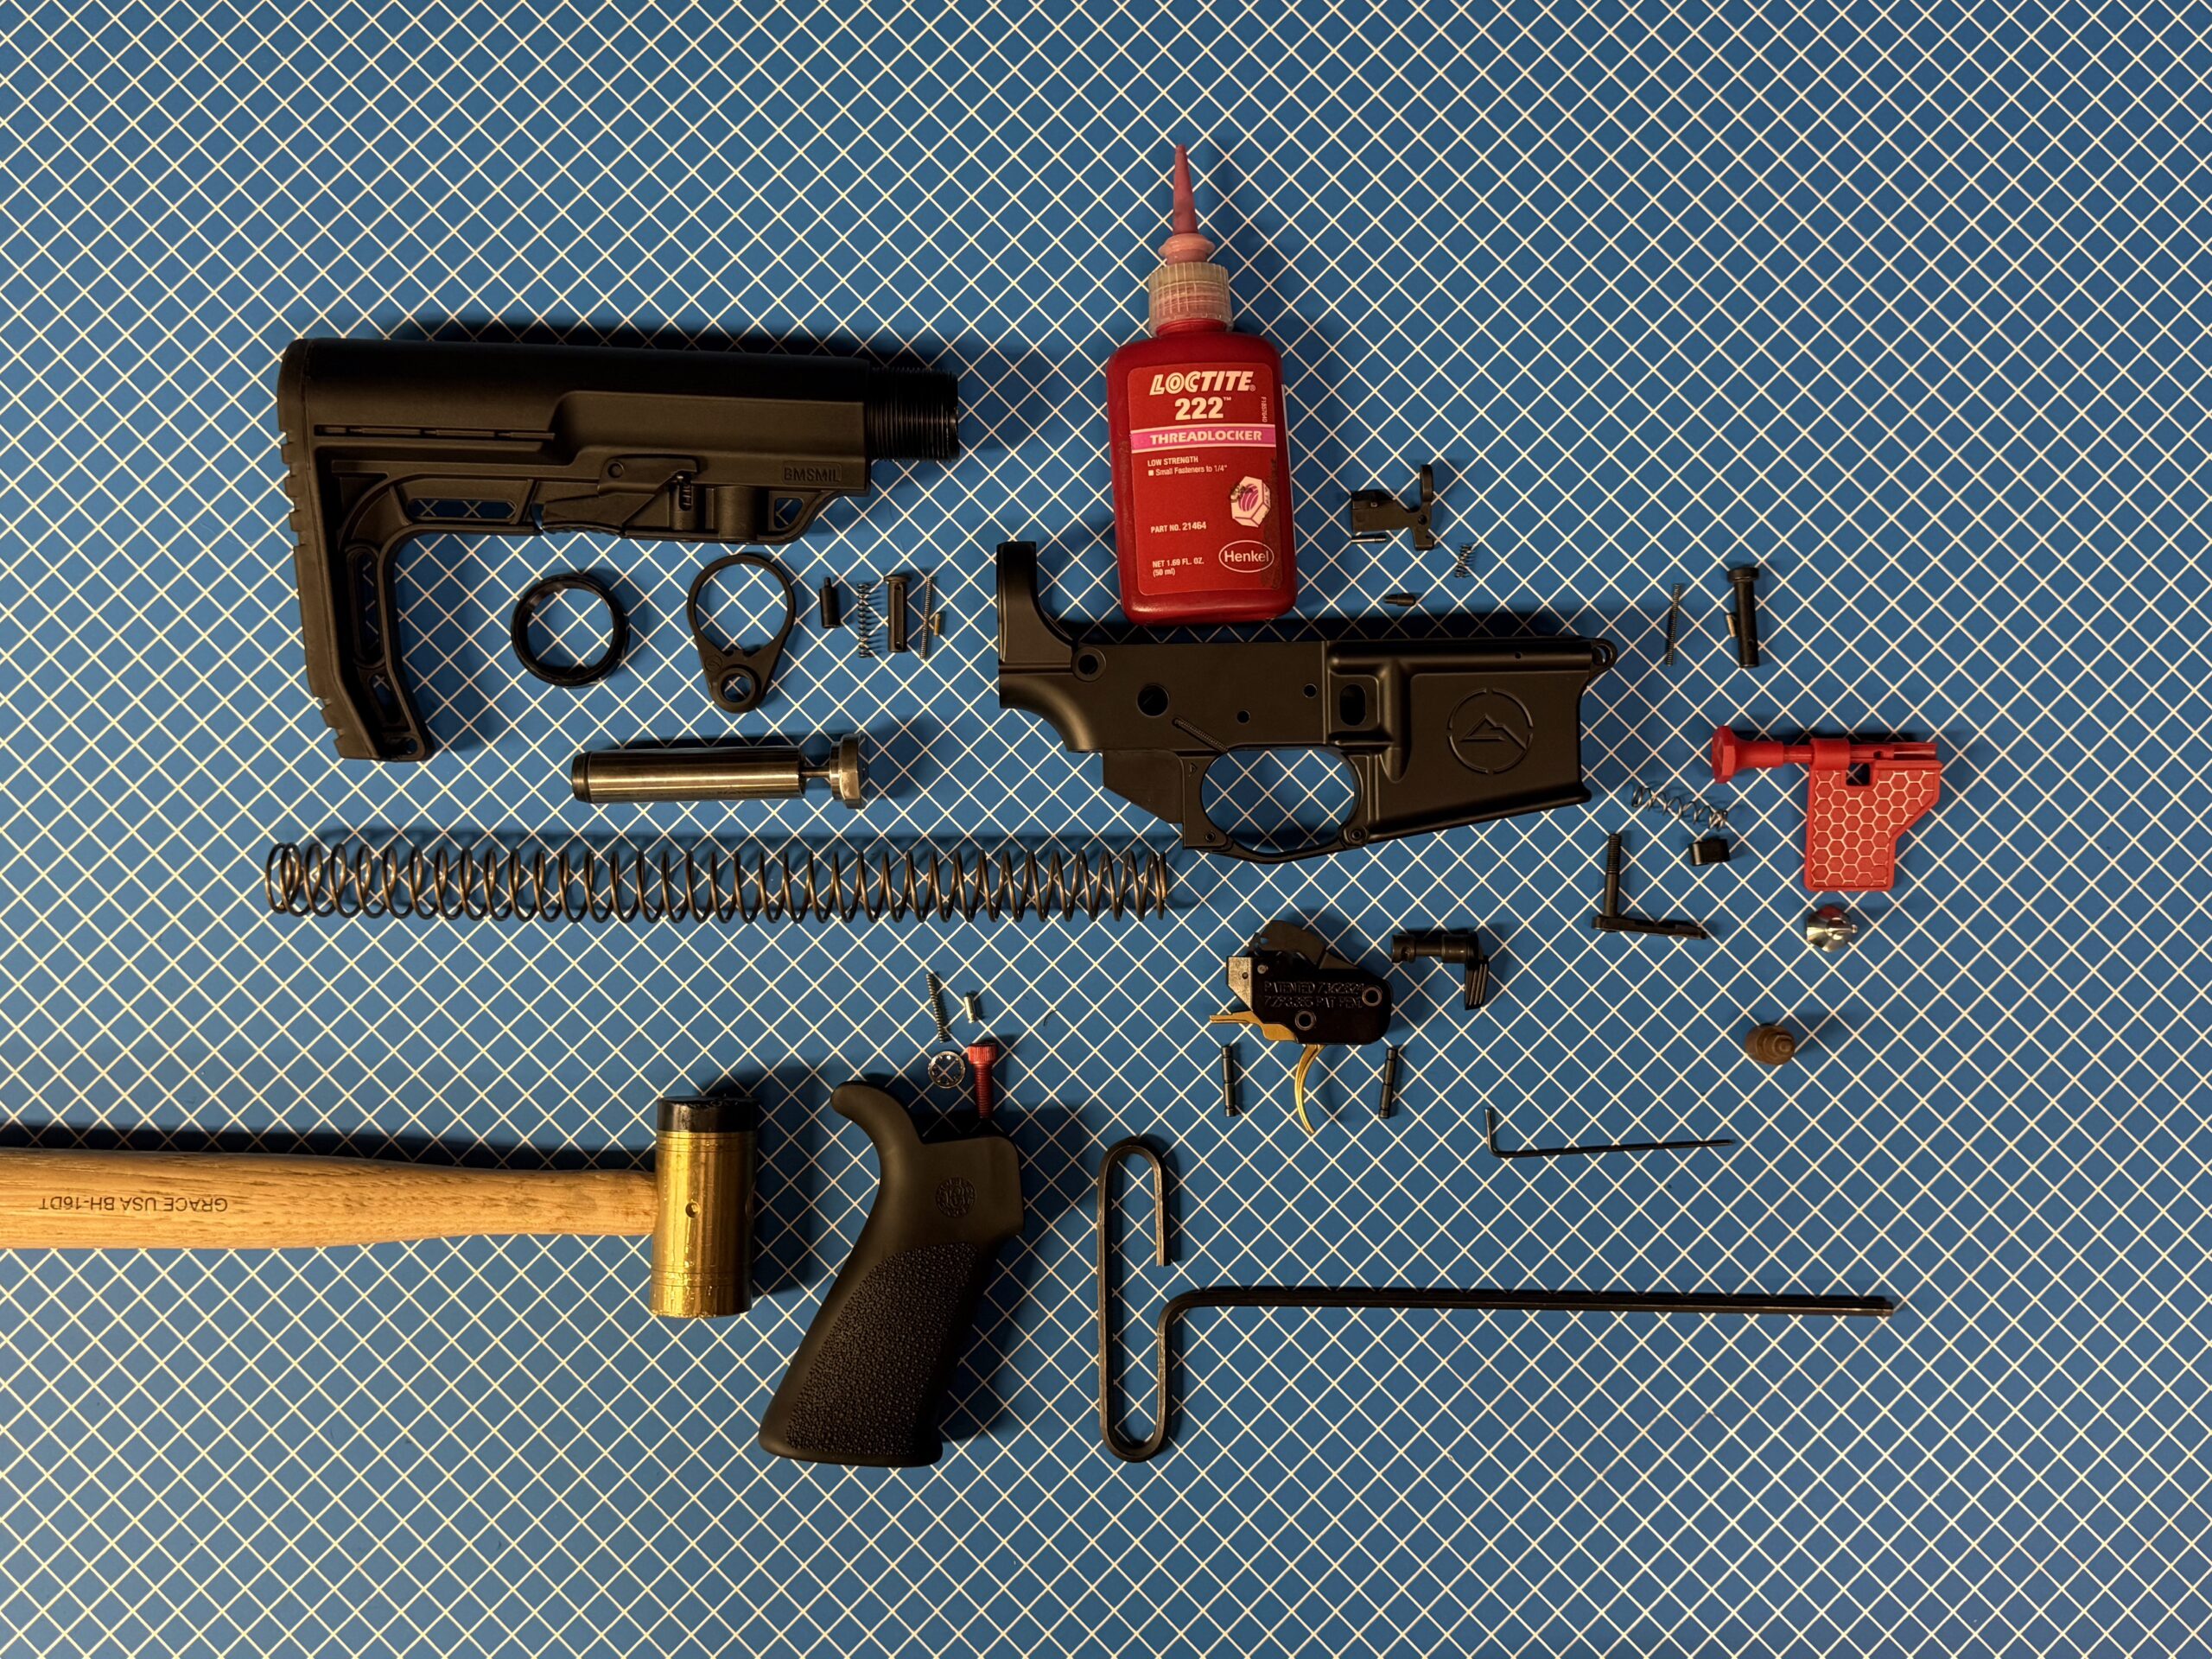
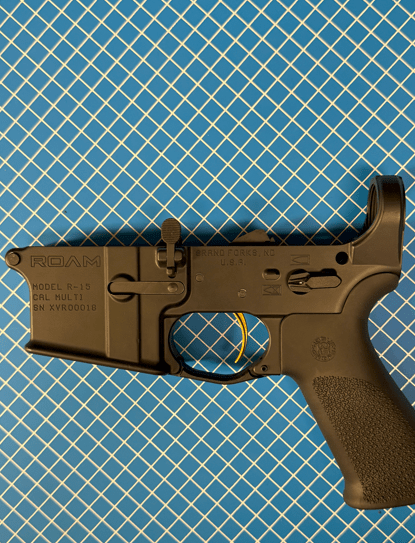
The ROAM R-15 Magnesium Lower Receiver redefines what’s possible in lightweight rifle builds. Engineered from ROAM’s proprietary magnesium alloy, it offers a significant weight reduction approximately one-third lighter than traditional 6061 aluminum without compromising strength or durability. Weighing in at just 5.5 ounces, the R-15 lower is one of the lightest production AR-15 lowers on the market. It’s designed for full compatibility with standard AR-15 components and features thoughtful upgrades like a tension screw for eliminating upper-to-lower play, and a threaded bolt catch pin for easier installation and maintenance. Finished with a Tagnite anodizing process and Cerakote coating, the R-15 lower delivers exceptional corrosion resistance, wear protection, and a sleek, professional look making it ideal for high-performance and weight-conscious builds.
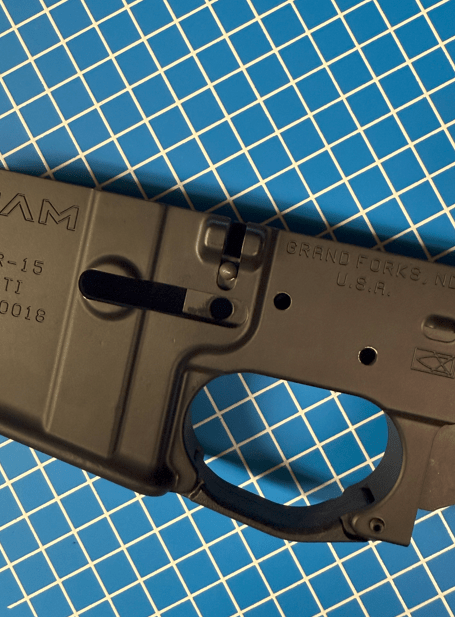
Magazine Catch Installation
Parts: Magazine catch, magazine catch spring, release button.
- Insert the magazine catch from the left side (Serial number side).
- Place the spring and button through the right side (Logo side).
- Press the button below flush and rotate the catch clockwise until the threaded portion of the mag catch button is flush or near flush with the face of your mag catch button.
- Check that when the button is pressed flush with the lower the magazine releases.


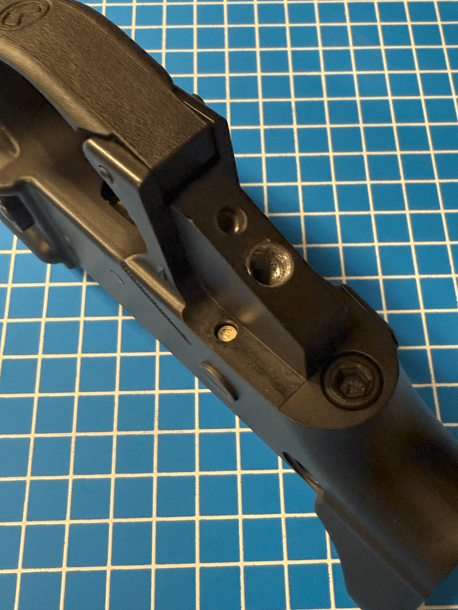
Front Pivot Pin Installation
Parts: Pivot pin, detent, spring.
- Apply a small amount of oil into the hole, Insert the spring first and then detent into the small hole near the pivot pin slot.
- Compress the detent and spring while sliding the pivot pin into place from right to left.
- A pivot pin installation tool or razor blade can help.
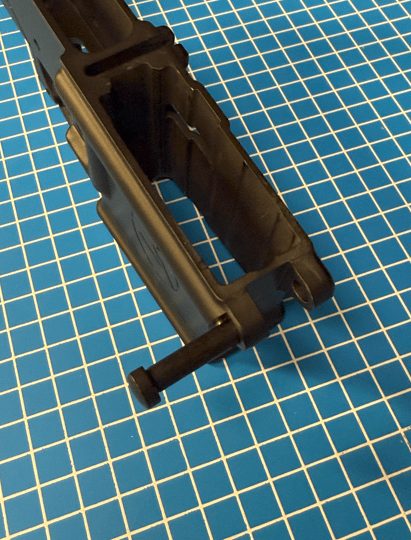
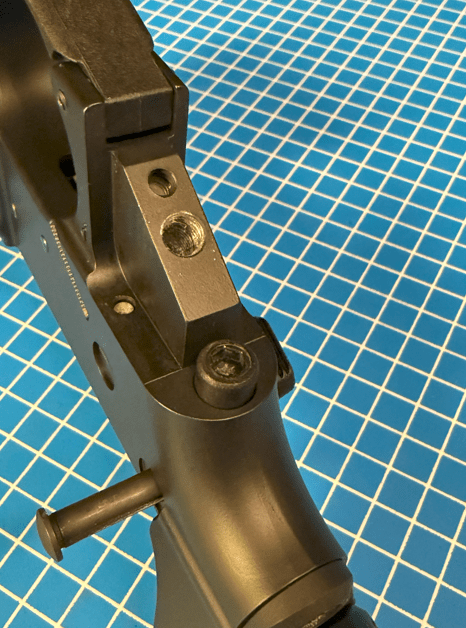
Bolt Catch Installation (Screw-In Style)
Parts: Bolt catch, bolt catch spring, plunger, bolt catch screw.
- Insert the spring first and then the plunger into the bolt catch hole. A small amount of grease or oil can be used in the hole for the spring to prevent long term wear.
- Apply a small amount of a low strength thread locker such as Loctite 222 to the threaded portion of the screw.
- Align the bolt catch and insert the screw using a 1/16” hex key using the short end of the wrench only.
- Tighten just enough to secure do not overtighten. Screw head should sit at or just below flush.

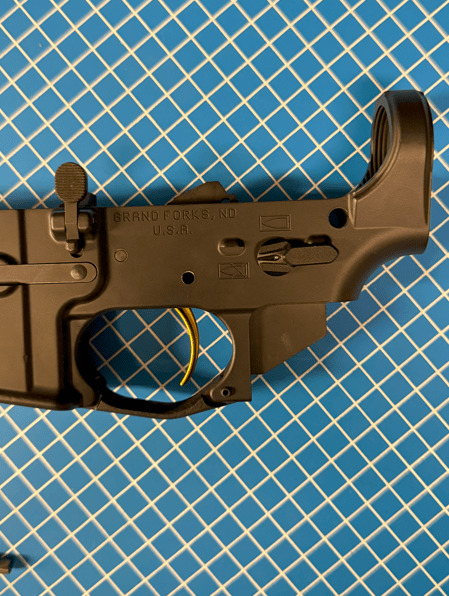
Trigger Group and Safety Selector Installation
- Drop the trigger group into the receiver and install the fiont trigger pin.
- Insert the safety selector into the receiver loosely it will fully seat after hammer installation.
- Install the second trigger pin while the safety is loosely in place.
- Ensure both pins are flush with the receiver sides.


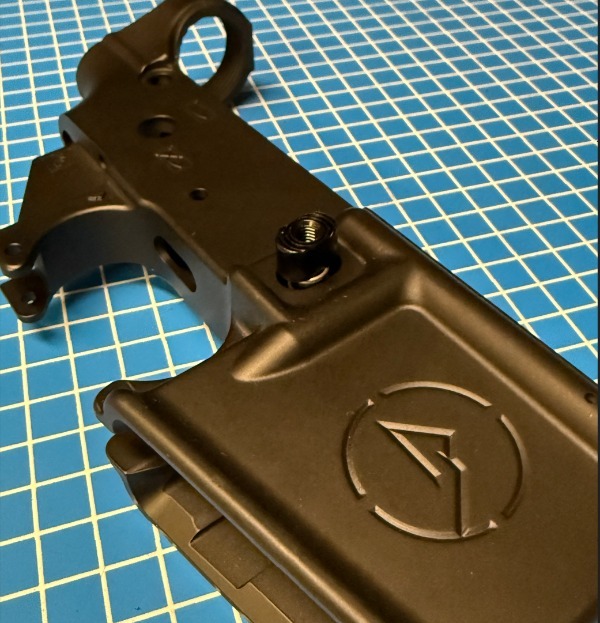
Tension Screw Installation
Install the tension screw before starting pistol grip assembly. The tension screw is optional.
- Locate the screw hole in the bottom of the lower.
- Use a hex key to thread the tension screw in gently to near flush.
- Do not overtighten — adjust later for upper receiver fit.

Pistol Grip and Safety Detent Installation
Parts: Pistol grip, safety detent, detent spring, grip screw.
- Insert the safety detent into the hole under the safety selector.
- Place the spring into the pistol grip. A small bit of grease applied to the spring can help keep the spring in your pistol grip.
- Carefully install the grip while guiding the spring into the receiver.
- Secure using the grip screw with a hex key or screwdriver. Recommended torque of 20in/lbs.

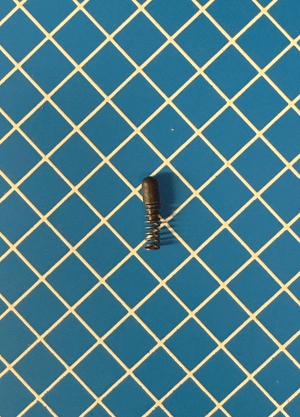
Rear Takedown Pin Installation
Parts: Takedown pin, detent, spring.
- Insert the takedown pin from right to left.
- Drop the detent and spring into the small hole at the rear of the receiver, apply a small amount of oil to the detent and spring.
- These parts will be retained by the buffer tube and end plate.


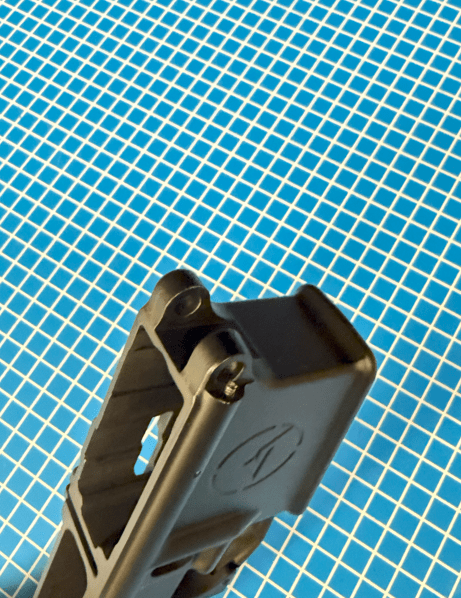
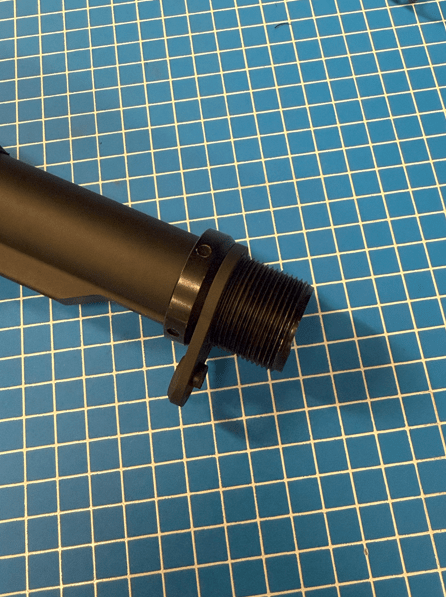
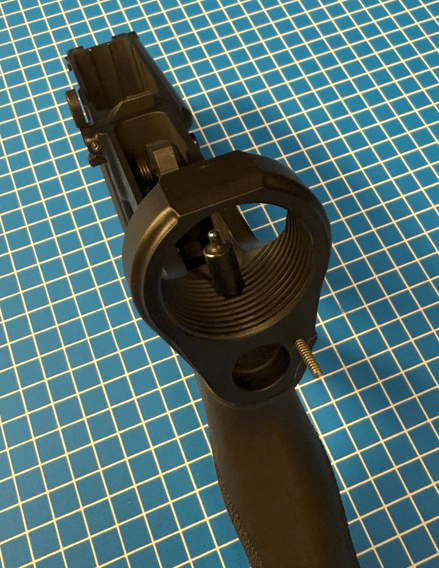
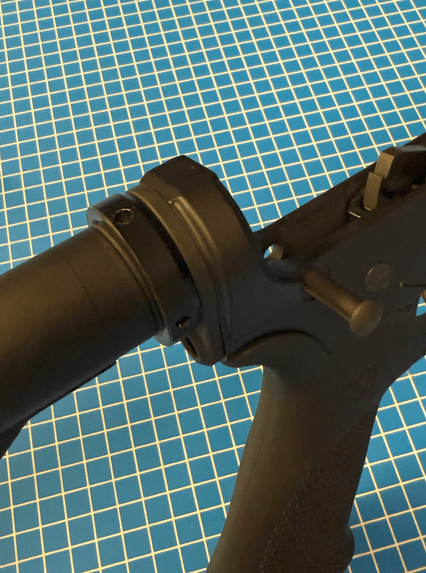
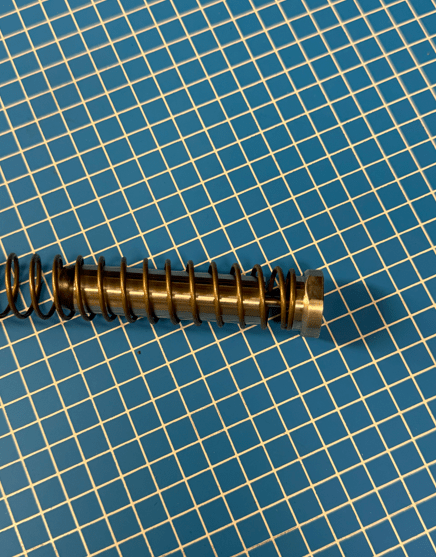
Buffer Tube Assembly
Parts: Buffer tube, castle nut, end plate, buffer retainer, retainer spring, buffer spring, buffer.
- Thread the castle nut first, then slide the end plate onto the buffer tube.
- Insert the buffer retainer spring, then the retainer pin into the lower apply a small amount of oil to the spring and interior of the detent.
- Slowly thread the buffer tube in until it holds the retainer pin in place.
- Insert the takedown pin spring into the rear detent hole.
- Slide the end plate forward to trap the spring, then snug up the castle nut.
- Torque the castle nut to spec using an armorer’s wrench. Recommended torque 38ft/lbs.
- Insert the buffer spring and buffer into the buffer tube.


Final Checks
- Function test the safety selector it should block the trigger in SAFE.
- Confirm trigger resets when cocked.
- Ensure the bolt catch locks and releases smoothly.
- Adjust the tension screw to eliminate upper/lower wobble if needed.
- Check a magazine catch releases when depressed and holds magazine in place. If the magazine does not stay in tighten mag button. If it does not release loosen mag button by spinning out counter clockwise.